DIY Guide: How to Create Your Own Applique Dress - Step-by-Step Tutorial
Making an applique dress is a gratifying and fun DIY project that will help you to express your individuality via your clothing. You can make a unique garment from scratch with just a few simple supplies.
Read this article to become a master of creating beautiful applique dresses.
Different Applique Work Techniques
Several various techniques can be utilised to make an applique dress. Methods that are most frequently used include:
How to do Applique Work by Hand
Hand Applique Work
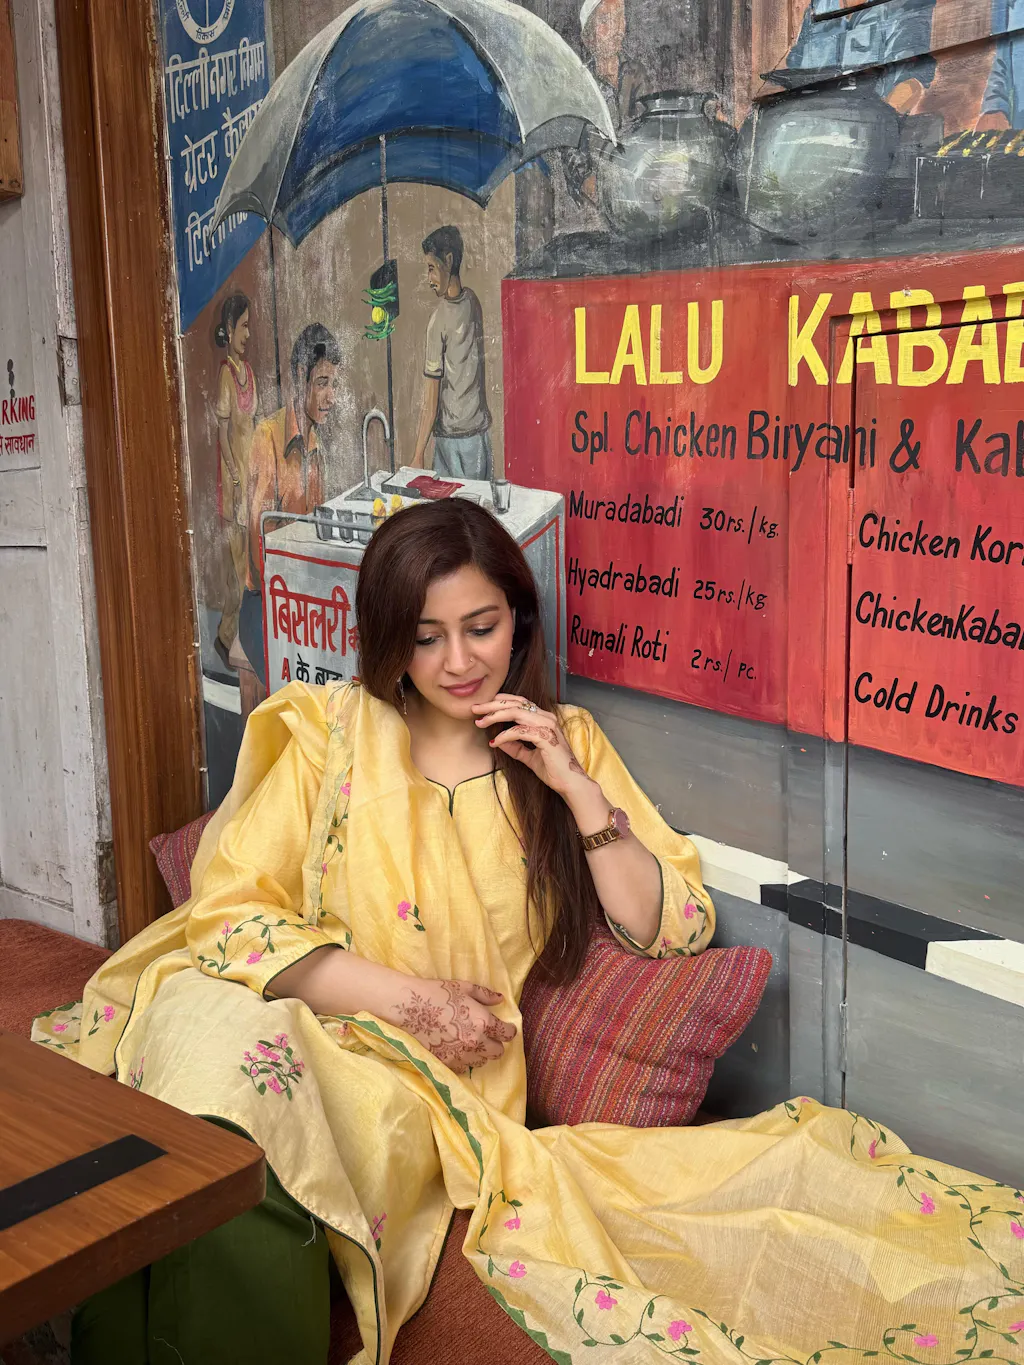
In hand applique, the applique pieces are stitched onto the background fabric by hand. Typically employed for traditional Indian clothing like sarees and dupattas, this technique is renowned for creating elaborate motifs.
Machine Applique Work
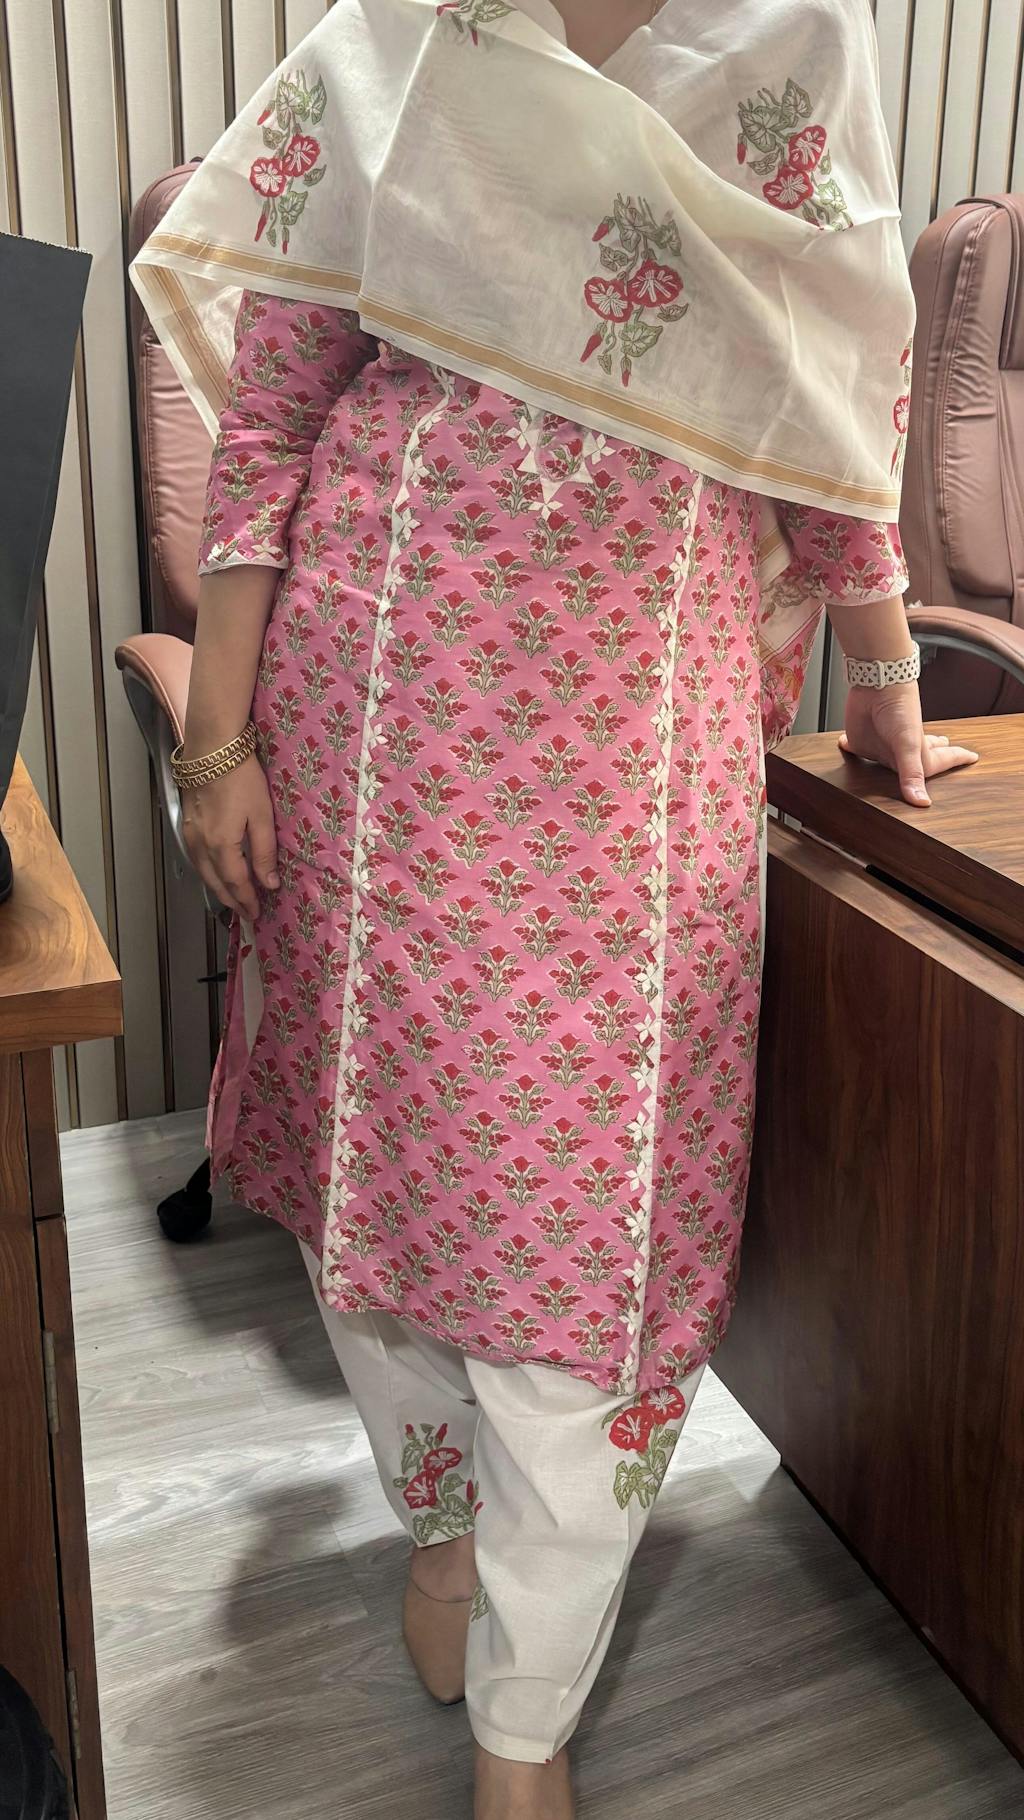
As the name implies, machine appliqué is a method in which the applique pieces are stitched onto the background cloth with the help of a sewing machine. This technique is often utilised for contemporary clothes like dresses and tunics due to its efficiency and uniformity in design.
Applique Work Embroidery
In embroidered applique, the pieces are hand- and machine-stitched onto the foundation cloth. This technique is widely employed for formal wear, especially wedding dresses, due to its success in producing elaborate patterns.
---Do you also want to know about Traditional Indian Wedding Dresses? Visit our blog titled "Traditional Indian Wedding Dresses for Women & Girls: Top Looks and FAQs" ---
How to Applique With Brother Embroidery Machine
Embroidering an applique design onto a dress with a brother embroidery machine is an enchanting way to personalise your clothing. The Brother machine allows you to generate elaborate patterns and designs to make your clothing stand out. Using a Brother embroidery machine to complete the appliqué process will have you making clothing that seems like they were made by a pro in no time.

To begin, you'll need to get your design ready. This can be done from scratch or by adapting an existing pattern. Once you have your pattern finalised, you can use the applique feature of your Brother embroidery machine to make the applique. Once you've chosen an appliqué design, the machine will sew it onto your dress for a polished effect. When you use the Brother embroidery machine, you may make various patterns and motifs, allowing you to make the perfect appliqué dress for any event. The Brother embroidery machine is an excellent tool for making a one-of-a-kind applique dress, whether for a formal occasion or every day.
How to Make an Applique Dress: Step-by-Step Tutorial
Part I - Fabric and Template Design Preparation
Step 1: Get your cloth washed and ironed ahead of time.
The item you plan to appliqué to and the cloth you intend to use must be prepared in advance. You shouldn't wash your fabric only if you use a non-washable fabric like wool, felt, or silk.
It is recommended to wash the fabric before drying it. Lastly, iron out any remaining wrinkles.
How to Crochet a Flower Applique?
Step 2: Pick a layout and draw it out on some paper.
You can either freehand the design or use a stencil to help you out. Finally, the design can be printed directly from the computer. If this is your first time making an appliqué, it is recommended that you stick to simple designs.
And if you're experienced, you can crochet a flower applique by hand and draw. You can also take help with printing.
Make an effort to choose sturdy paper, like cardstock. Then, a more straightforward tracing process is guaranteed.
You can flip your design, whether working with letters, words, or numbers, and it will still print out in the correct orientation.
--- Also, would you like to know more about the importance of ethnic wear for women? Visit our blog Named IMPORTANCE OF ETHNIC WEAR FOR WOMEN.Top FAQ's ---
Step 3: Eliminate the pattern.
Now you can begin transferring its lines to your interface. You must trace each colour individually if your design has numerous colour layers, as in a target sign.
How to do Applique With Fusible Adhesive?
Step 4: Invest in an appliqué-specific iron-on glue.
Iron-on, the fusible adhesive, comes in a wide variety of styles. You need to acquire the sort with glue on both sides. You can see the adhesive on one side and the paper on the other when you buy it.
Part II - The Process of Creating the Appliqué
Step 1: Trace your design onto the paper side of the interfacing.
If you can't identify the paper side, look for the smooth side. One side is rough and used for adhering.
Use a fabric pen or pencil to prevent the ink from smudging or transferring onto the cloth.
Eventually, you'll remove the paper backing and press the appliqué into your work.
Step 2: Exclude the drawn lines from your cutting.
Until such notice, please refrain from colouring inside the lines. Instead, shave off at least 0.64 centimetres (a quarter of an inch) from the drawn lines. Then, when the interfacing is ironed into the fabric, you can cut it to size.
How to Applique with Fusible Adhesive?
Step 3: Attach the interfacing to the back of the fabric using an iron.
The fabric's wrong side should now be facing you. Glue-side down, interfacing should be laid out on top. The interfacing must be pressed for around 8 seconds with a hot, dry iron.
Check the interfacing's care instructions to see what temperature to set the iron at.
Ironing clothes (like a tea towel) should be used to protect some types of interfacing from the heat of the iron. Verify the packaging thoroughly!

How to Cut Applique Designs?
Step 4: Take out the appliqué.
The appliqué must be let to cool down first. Once it has cooled, you can use a sharp knife to carefully slice it, following the lines you drew.
Step 5: Take off the backing paper.
The torn paper backing is not a problem. The interfacing's adhesive side should be firmly attached to the cloth. Once the appliqué's backing has been removed, it can be used.
Now is the time to create the remaining shapes and colours for your colourful appliqué.
Part III - Ironing and Sewing the Appliqué
How to Sew on Applique Patches?
Step 1: The appliqué must be sewn onto the object of choice.
Appliqués can be ironed onto various fabrics, including t-shirts, backpacks, and tablecloths. Alter the setup until you find the optimal configuration for your needs.
Step 2: Follow the package's iron-on appliqué instructions.
Although specific instructions may vary by manufacturer, you generally place an ironing cloth (or tea towel) over the appliqué and press it for 10–15 seconds with a dry iron.
Iron the appliqué again without the cloth to remove any remaining moisture if you have to use a damp ironing cloth.
Step 3: Stabiliser should be pinned to the back of the fabric before sewing.
Pin a sheet of stabiliser to the back of the fabric if you plan on using a dense embroidery stitch, like a scalloped or satin stitch. However, any stabiliser is unnecessary for a straight, zigzag, or blanket stitch.
Step 4: Follow the appliqué's outline with your sewing machine stitches.
Most designs may be stitched with a straight stitch, but if you want to go fancy, you can try a blanket stitch, zigzag stitch, decorative stitch, or even a satin stitch. To prevent your stitches from coming undone, backstitch at the beginning and conclusion of your sewing project.
Thread colour options include a close match to the appliqué or a contrasting hue for added visual interest.
- Stop short of the appliqué's edge when using a zigzag stitch to avoid sewing over it.
- Instead of a straight stitch for the first pass through satin stitching, try a zigzag.
Step 5: Sewing a rainbow appliqué? Add more layers if you like.
Suppose your design comprises distinct shapes or colours. In that case, you must redo everything for each layer if you decide to tear it up. Separately press and sew on each colour/layer. Remember to use threads of corresponding colours.
Step 6: If you added a stabiliser, take it out now.
How you get rid of it is dependent on the type you use. Some of the thread can be washed out of the garment using water. However, some must be ripped away.
Step 7: Remember to cut loose ends.
Ironing the project might be an excellent way to give it that polished look.
--- Want to know more about traditional Indian wedding dresses? Visit our blog about traditional Maharashtrian dresses, Punjabi dresses, farshi gharara, bridal gharara, Assam Dress, Bridal Kamkhwab Gharara, Sikkim dress, Kerela Dress, Rajisthani Dress, Kashmiri Dress, Gujarati Dress ---
How can The Indian Couture Help You?
Suppose you are new to applique work or want a customised work dress for your wedding festivities or any other special occasion. In that case, we can help you customise a bridal applique dress exclusively for you.
To ensure your appliqué dress fits you perfectly, you must tell us what you need, and our team will contact you to discuss the specifics.
Get in touch with us to share your requirements today!